
Curls Maxxing 2026: How to Get the Best Waves and Curls of Your Life (Part 3: Styling)
Before you start styling your curls, ask yourself two questions:
What result do I want to achieve: more definition or more volume?
How much time do I have?
This is important to know, because these two factors determine which products and techniques you'll use.
And you really don't need to have an "all or nothing" mindset. If you're short on time, you can still style your curls beautifully—just without going through a lengthy process—and that's perfectly fine. Want a quick routine? Then read this blog.
Before You Begin
You can style your curls in the shower, but if you need a little more time, you can also do it outside the shower. Always make sure your hair is wet enough. A water spray bottle is a must—that way, you can easily wet your hair again if it dries too quickly.
Is this your first laundry day? If so, download my free laundry day checklist here so you'll be all set.
Styling for Definition
If you choose definition, that doesn't mean you won't have any volume at all. But on day 1, you'll probably have less volume than on day 2 or day 3. The advantage of styling for definition is that your curls will stay looking good longer.
Step 1: Apply a leave-in conditioner
If you have wavy or curly hair, you often need less styling product than you think. That’s why I personally opt for a leave-in conditioner instead of a heavy curl cream. These are my favorites:
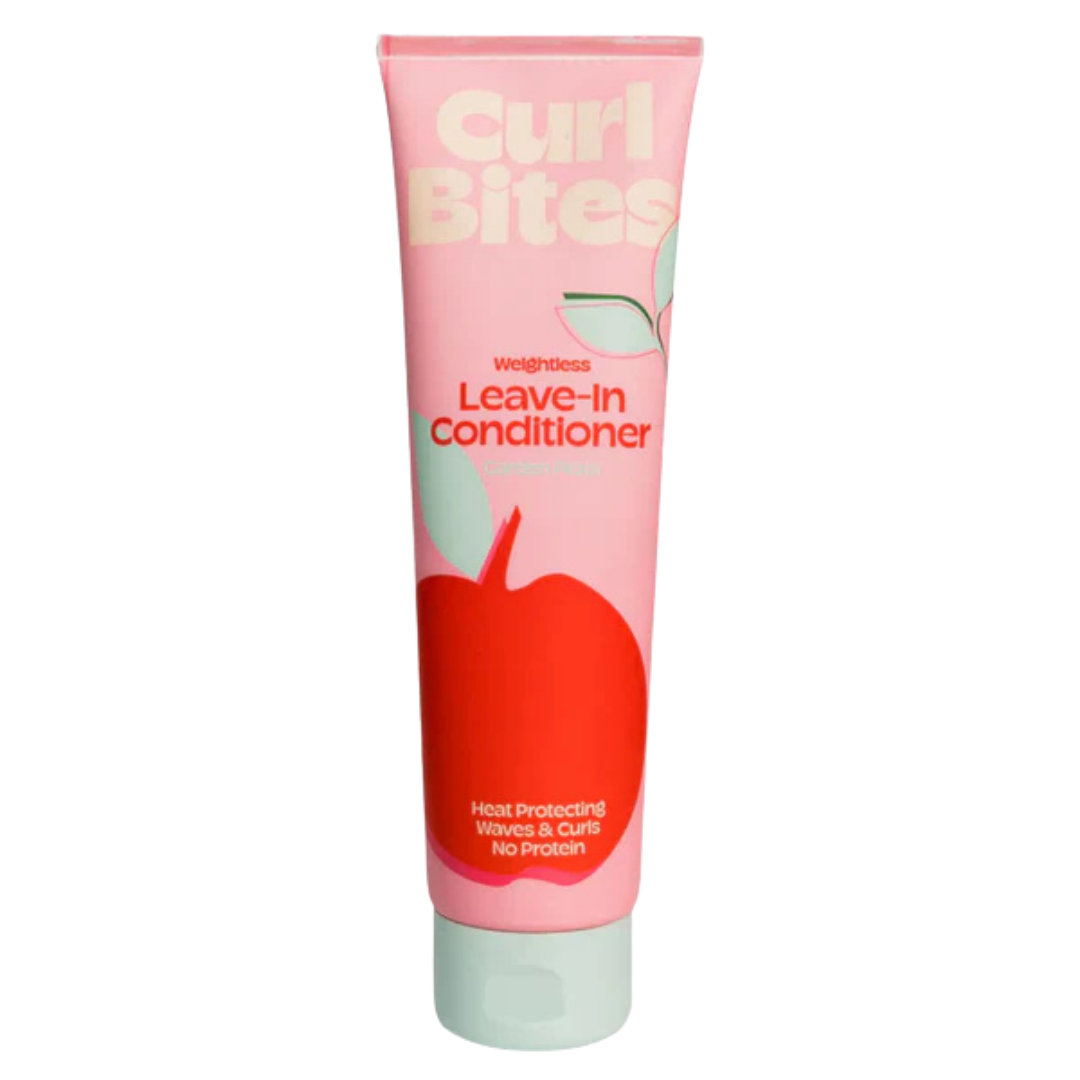
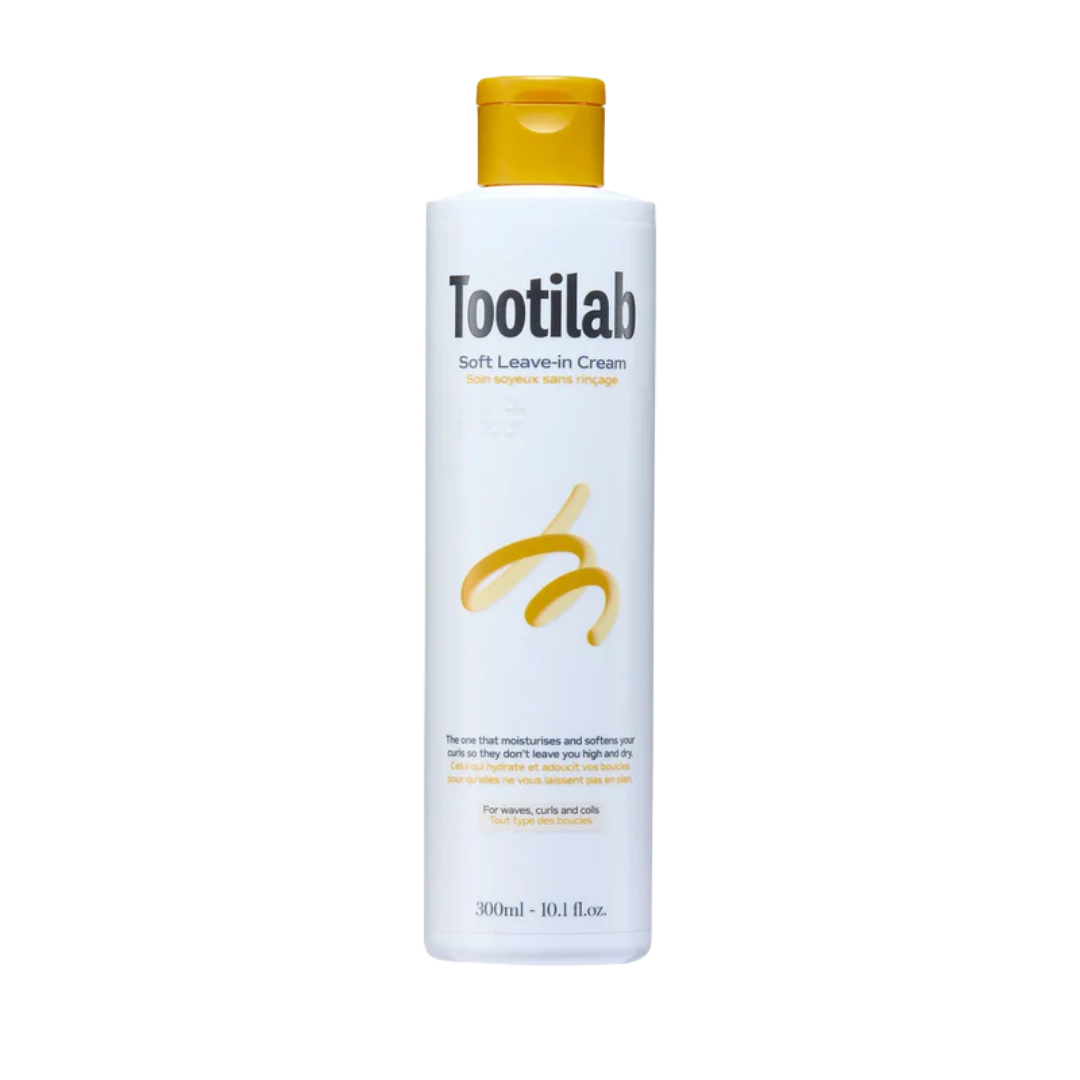
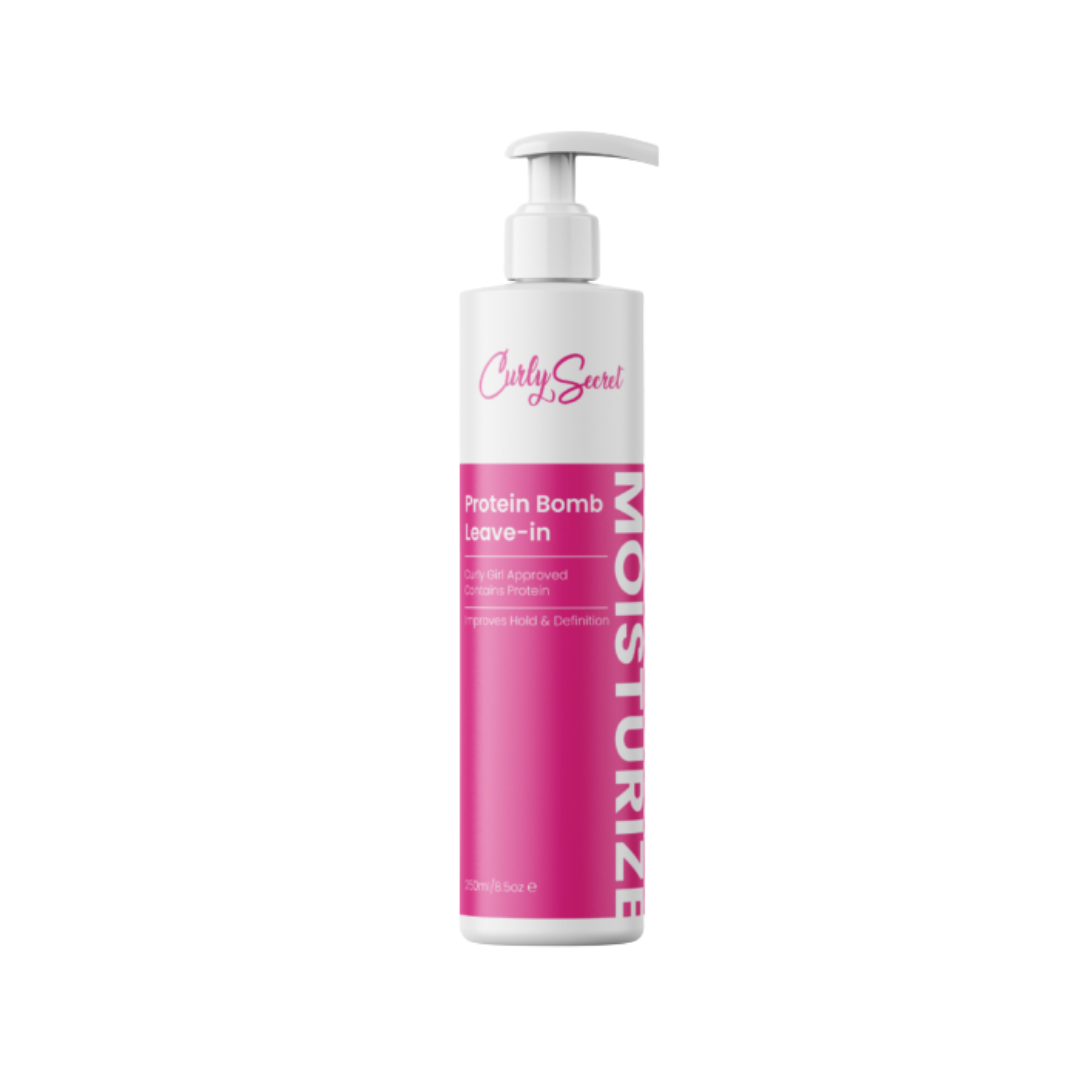
Step 2: Apply your styling products
I usually use two styling products, such as a gel and a foam. The combination of these two provides both definition and hold. Below are my favorite combinations:
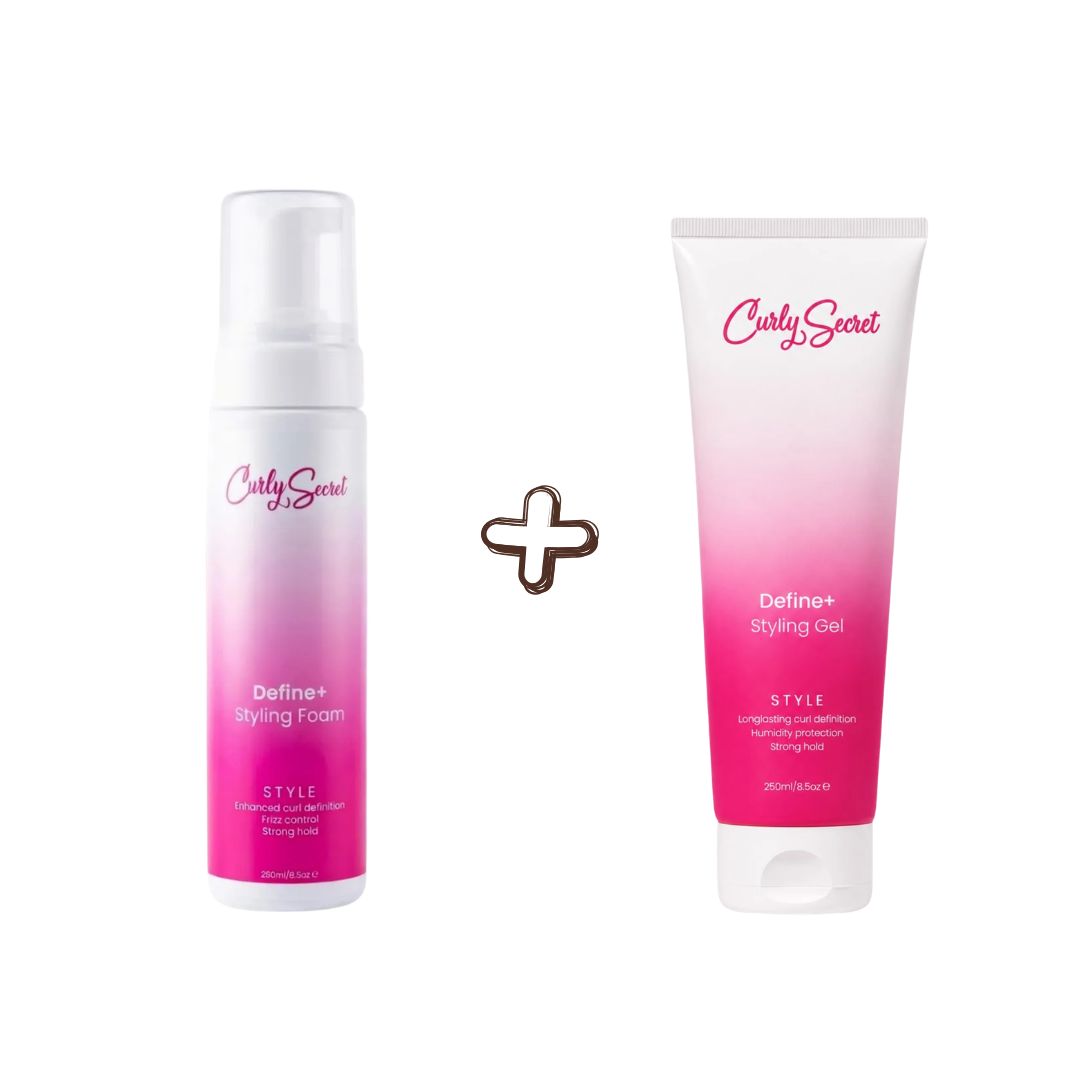
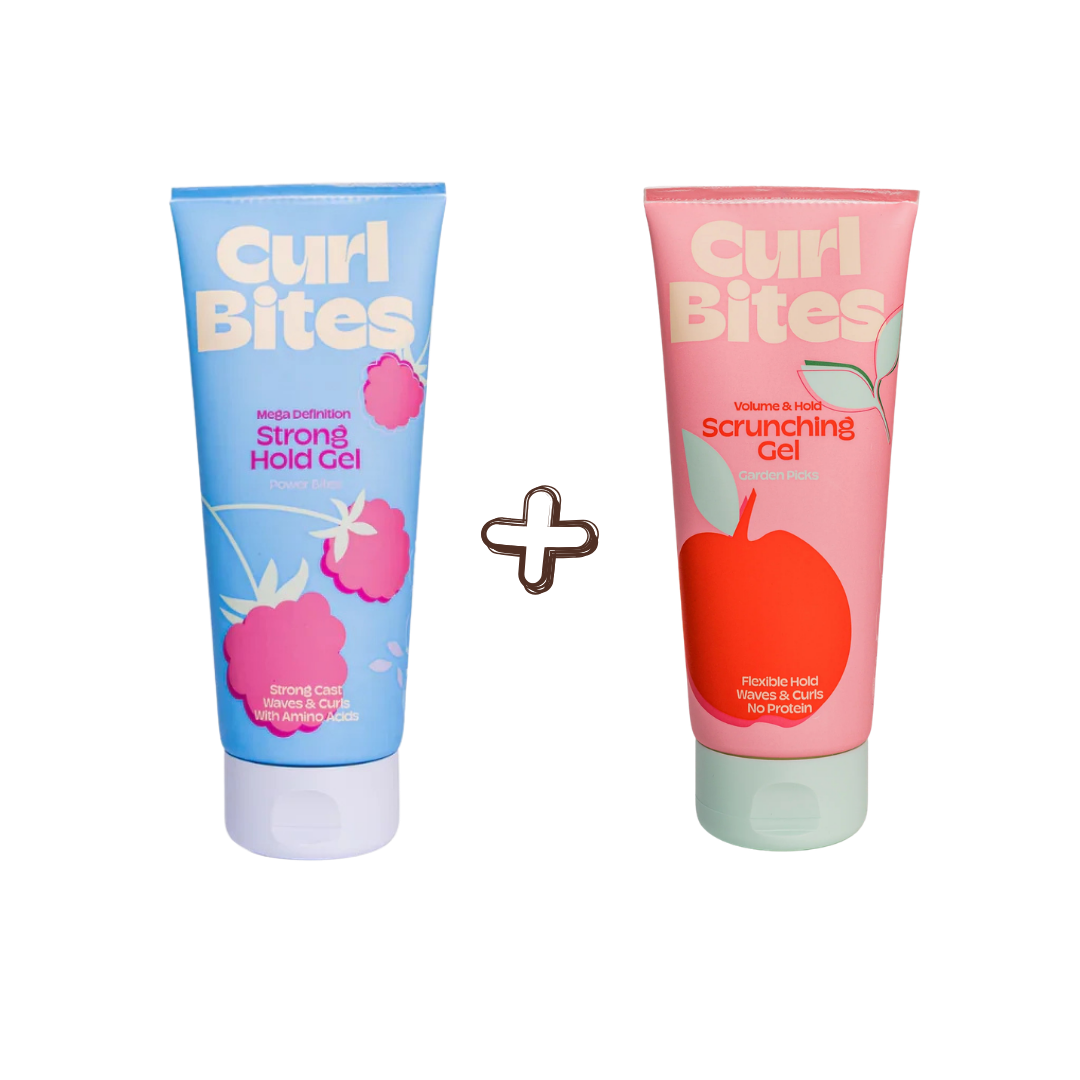
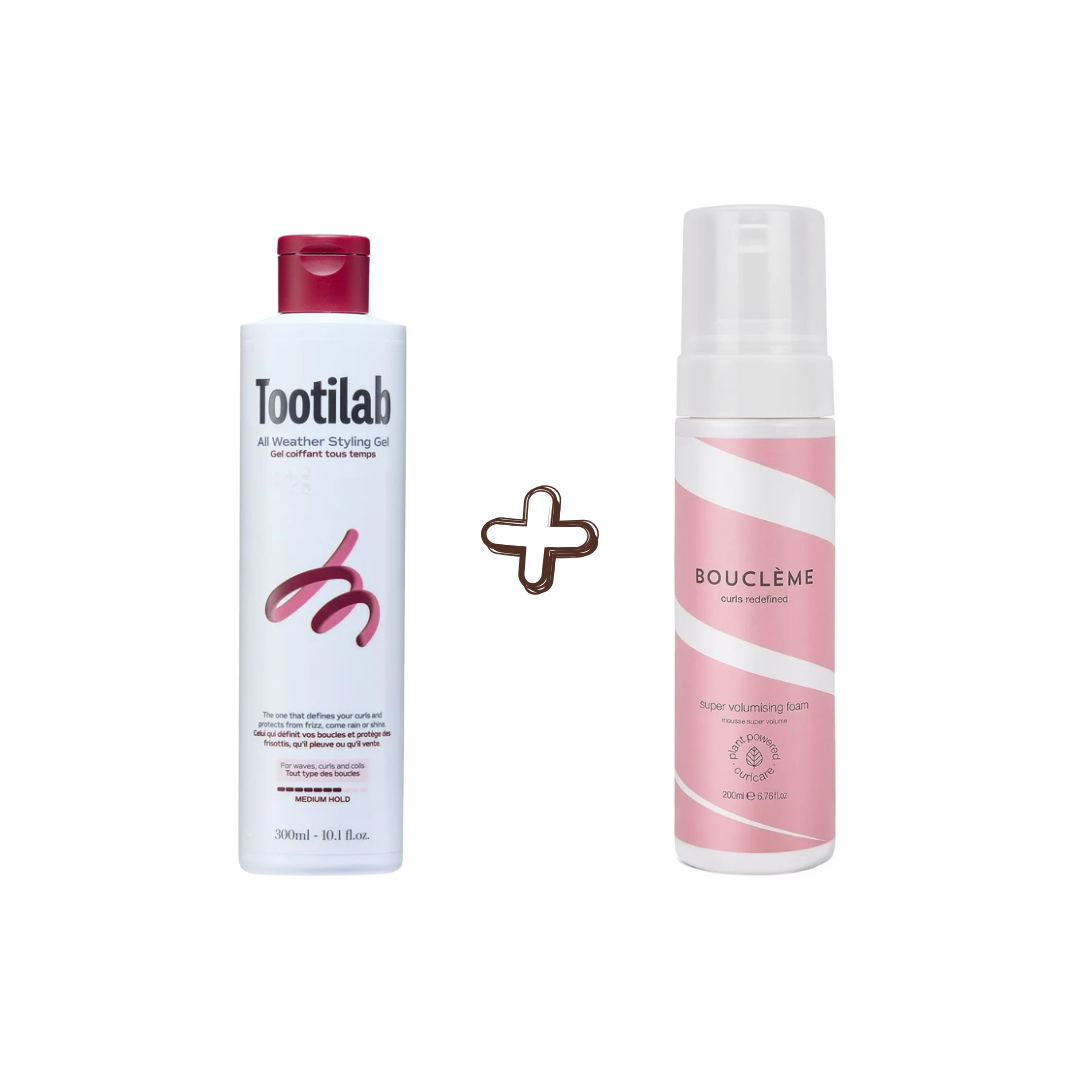
Step 3: Divide your hair into sections and create your bundles
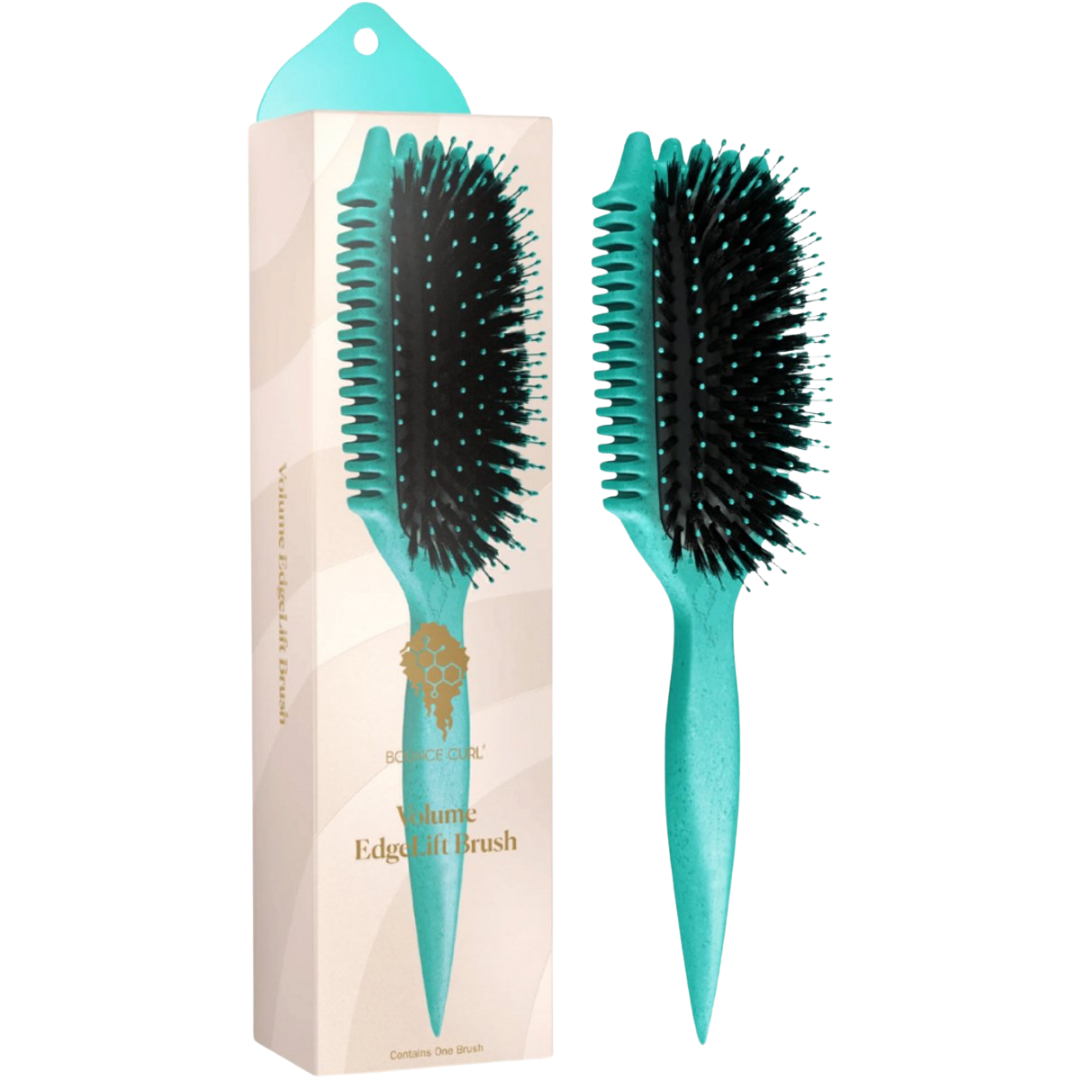
After applying your products, you'll want to create your curls. You can do this with a styling brush or simply with your fingers. I personally prefer a brush because it's easier to use. My favorites are listed below:
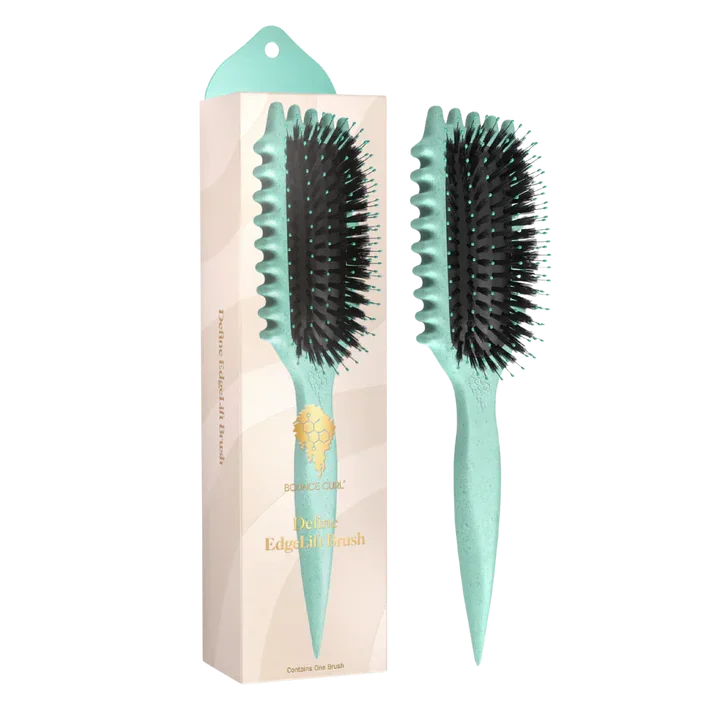
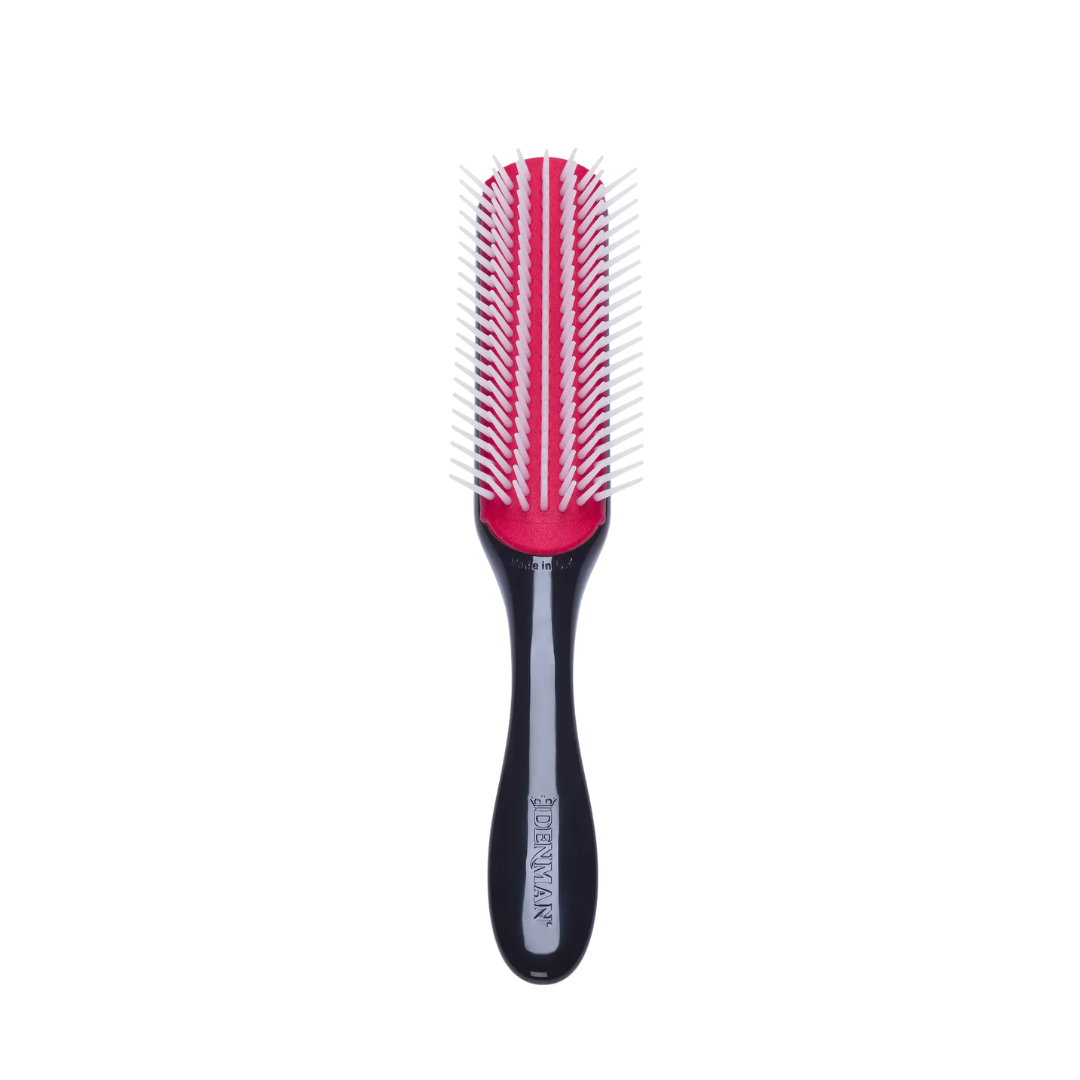
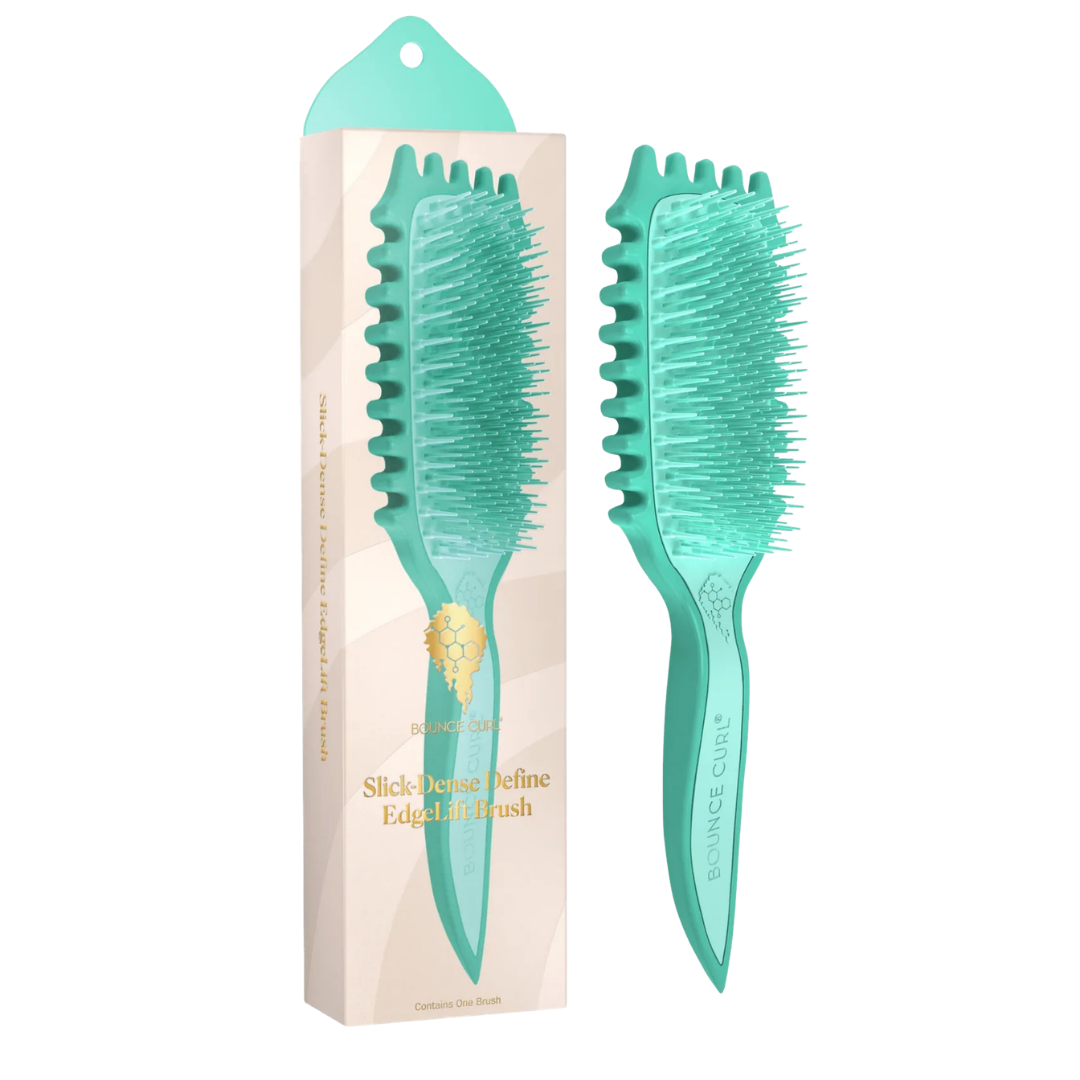
Work section by section, and then squeeze or scrunch your hair with your hands to strengthen the strands.
Step 4: Remove excess water
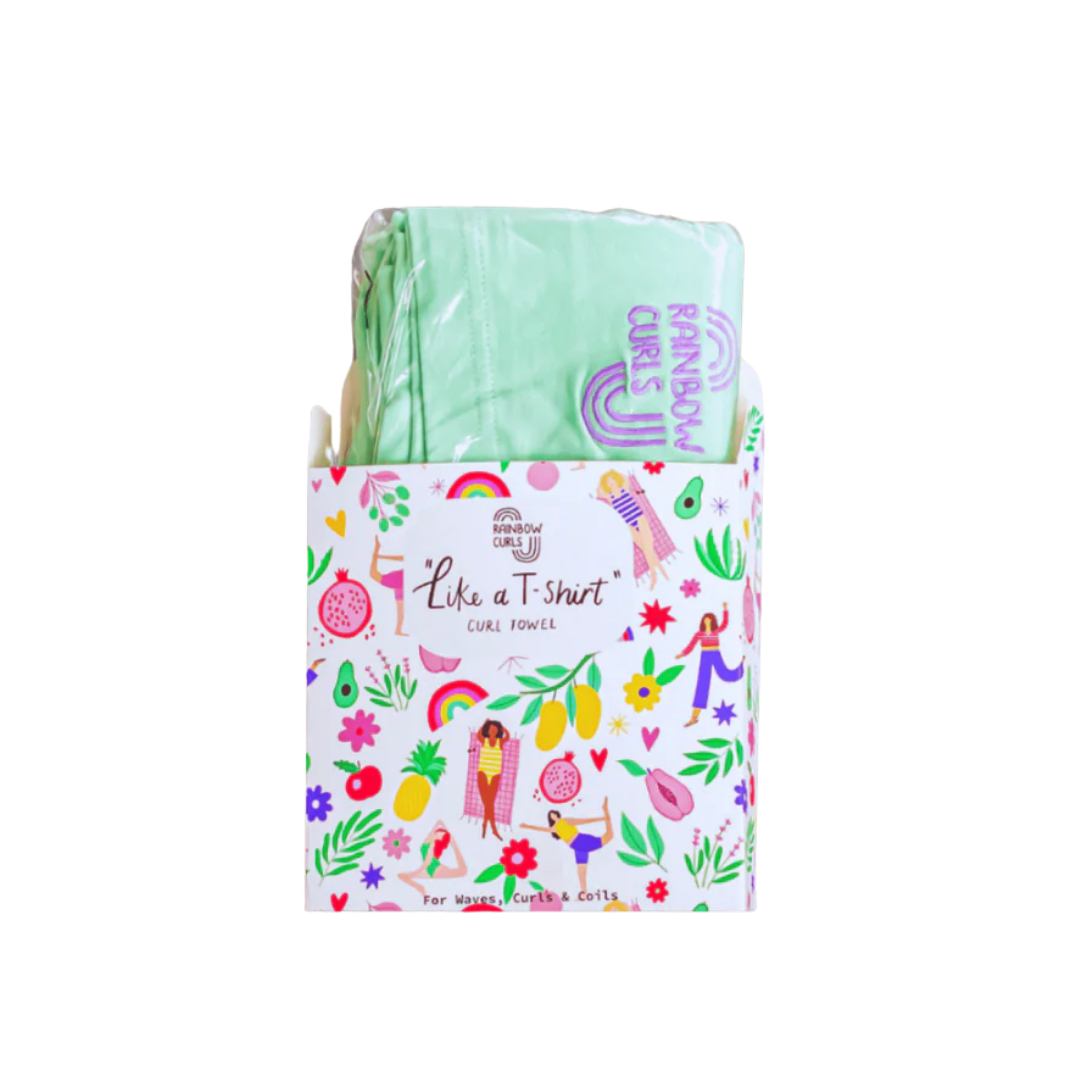
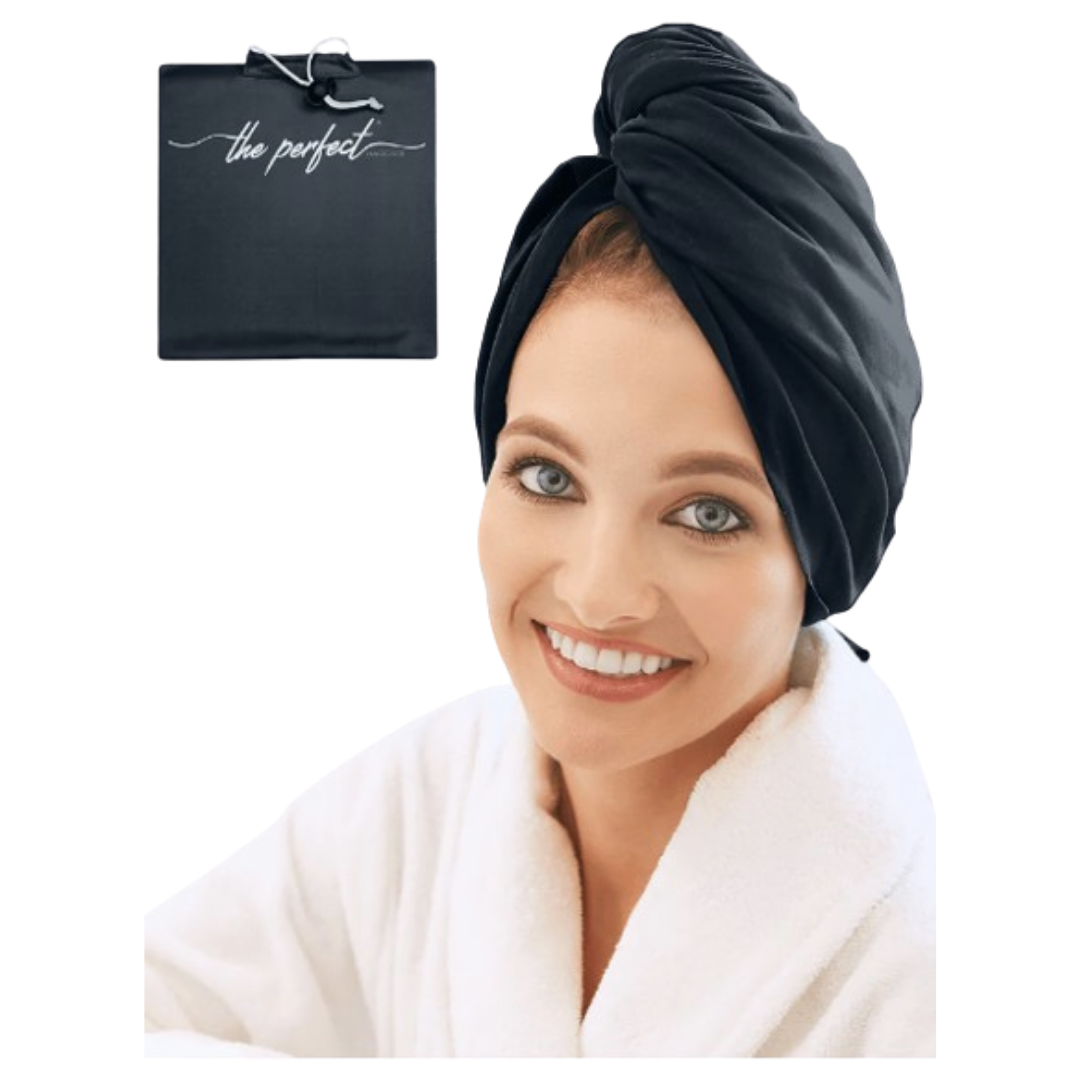
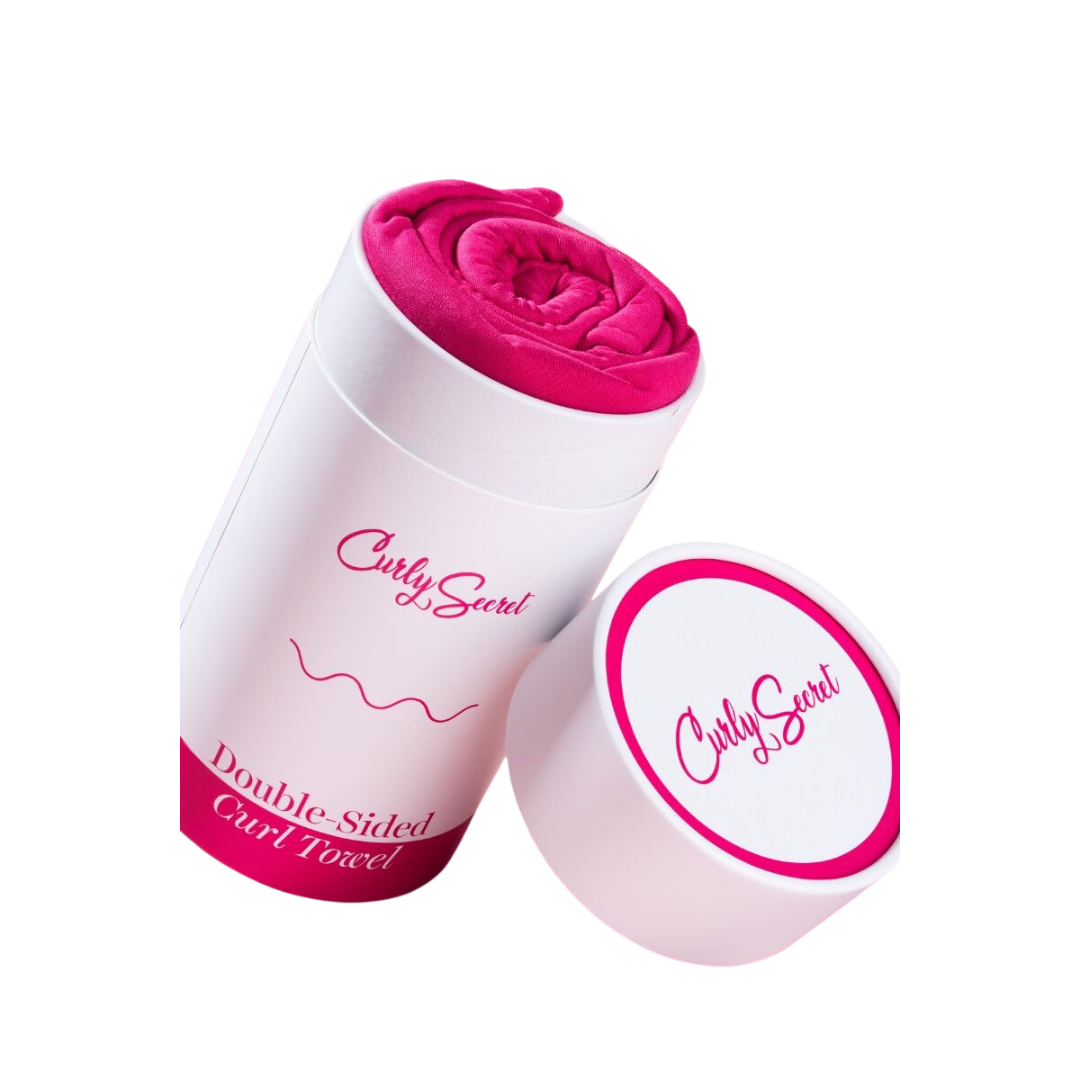
Gently blot your hair with a soft microfiber towel. I sometimes wait a few minutes before doing this, so the products have a chance to soak in a little.
Styling for Volume
Do you want lots of volume on day one? Then you should know that you’ll have to sacrifice some definition to achieve that, and that’s a conscious choice. The process is the same as when styling for definition, but with a few differences:
You don't divide your hair into sections
Bring all your hair forward while applying the products
Apply the foam to your hair with your fingers, use a brush to distribute the product, and then scrunch the gel through your hair
Keep moving your hair while it dries so your roots don't get flattened
Pro tip: Lean forward while scrunching your hair for extra volume at the roots!
In the next section, I'll be talking about drying and diffusing. Do you have a question? Feel free to ask in the comments!
